In this guide, we’ll walk you through the step-by-step process of performing token swaps using the Changex app, ensuring you’re equipped with the knowledge to navigate this process with ease.
Without further ado, let’s get it over with.
How to swap tokens in Changex
Step 1: Open Your Changex Wallet
To begin swapping tokens, you would of course need a Changex wallet. If you’re new to Changex, you can download it here for Android or here for iOS. Once installed, open your Changex wallet.
If you’re a regular Changex user, please make sure you have the latest version of the app installed on your device to access all the latest features and improvements.
Step 2: Navigate to the “Swap” Tab
Once you’re in the Changex app, locate the “Swap” tab at the bottom of the screen and tap on it. This will take you to the token swapping interface, where you can initiate your token swap.
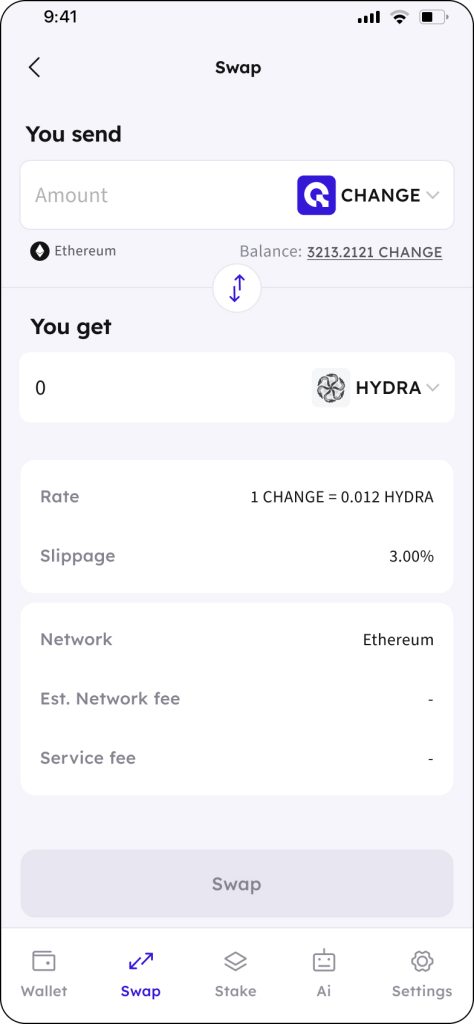
Step 3: Select the Token You Want to Swap From
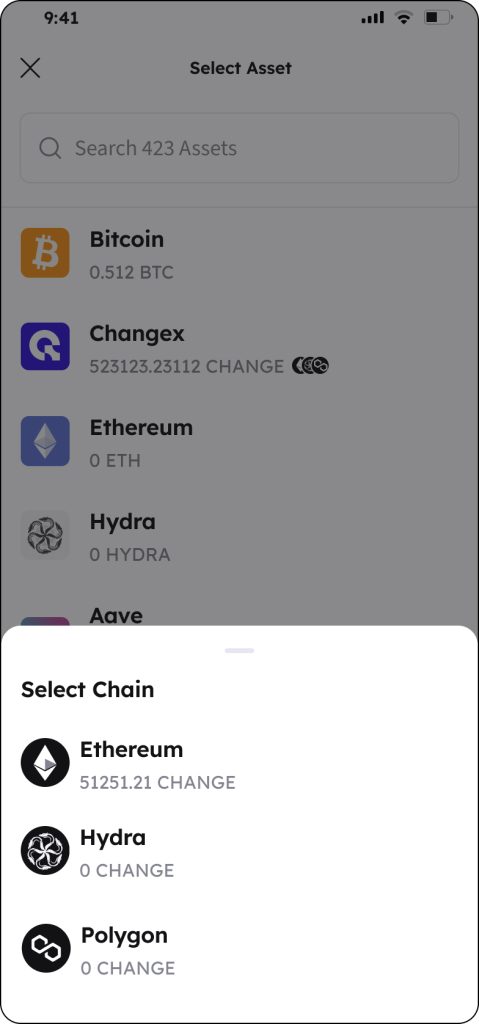
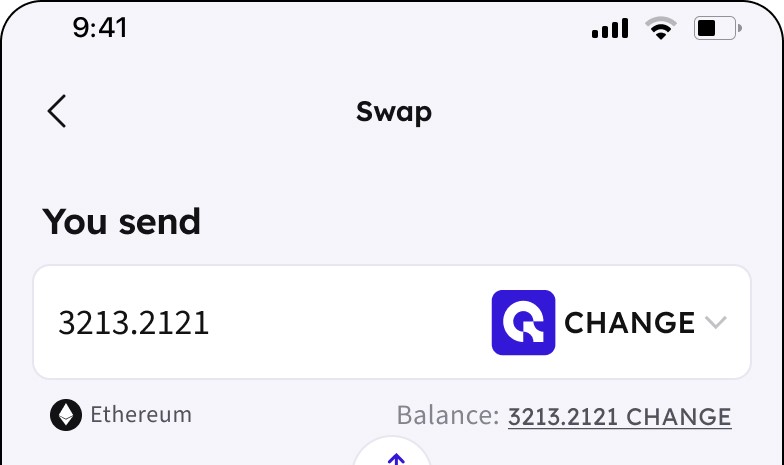
In the “You send” field, you’ll need to choose the token you want to initiate the swap from.
Note: If you’re dealing with multi-chain tokens, you need to select the network your token is on. Once done, look for a small icon just below the amount you want to swap – this icon confirms the network you’re initiating the swap from.
Step 4: Choose the Token You Want to Receive
Moving on to the “You get” field, select the token you wish to receive as a result of the swap.
It’s important to note that different blockchain transactions require a small amount of cryptocurrency, often referred to as “gas,” to cover transaction fees on the network.
The type of token required for gas varies based on the network you’re using:
- For HYDRA and CHANGE swaps, as well as all other HRC20 tokens (tokens on HydraChain), you’ll need HYDRA tokens.
- Swaps on the Ethereum network require ETH for gas fees.
- Swaps on the Polygon network necessitate MATIC tokens for gas.
- And so forth.
Step 5: Review Transaction Details
Underneath your selected tokens, you’ll find valuable information such as the current rate, slippage tolerance, and price impact of your transaction. Further down, you’ll also see details about the network you’re using and the associated network fee, along with the token you need to have to cover this fee.
Step 6: Approve the Transaction
If this is your first time using the token swap feature on Changex, you might notice an “Approve” button at the bottom of the screen. Clicking this button essentially grants permission for the blockchain to interact with your wallet. This step is essential for the security and integrity of the process.
Step 7: Execute the Swap
After you’ve approved the transaction, you’re ready to proceed. Click the “Swap” button, and you’ll be presented with a summary of the transaction, including the tokens involved, amounts, and any associated fees. Take a moment to review these details to ensure everything is accurate.
Step 8: Finalize the Swap
Once you’ve verified the transaction details and are satisfied with them, you can finalize the swap. This action initiates the transaction on the blockchain, and you’ll be able to monitor its progress as it’s confirmed.
Congratulations on Completing Your First Swap in Changex!
By following these step-by-step instructions, you’ve successfully completed a token swap using the Changex app. Token swaps are a powerful way to manage and diversify your cryptocurrency portfolio, and with Changex’s user-friendly interface, the process becomes accessible to users of all experience levels.
Remember to stay informed about the specific requirements of each blockchain network you use, as gas fees and token types can vary. With this guide in hand, you’re well-equipped.
Happy swapping,
Team Changex